How to install piwik with docker
In this tutorial, I will show you how to install Piwik with docker. 
Piwik is the leading Free/Libre open analytics platform.
Piwik is a full featured PHP MySQL software program that you download and install on your own web server. At the end of the five-minute installation process, you will be given a JavaScript code. Simply copy and paste this tag on websites you wish to track and access your analytics reports in real time.
Piwik aims to be a Free software alternative to Google Analytics and is already used on more than 1,000,000 websites. Privacy is built-in!
Prerequisites for piwik
- Docker must be installed
You may also like: How to install piwik analytics tool on Ubuntu 16.04
Piwik Installation with docker
Firstly start the MySQL container with MySQL root user password as an environment variable.
docker run -itd --name mysql -e MYSQL_ROOT_PASSWORD=piwik -p 3306:3306 mysql
Note: Here I am using password piwik only for the tutorial you must use some super secure password. Now let’s get started with the piwik container.
Here I am using official piwik docker image to spin up the container.
docker run -itd --link mysql -p 80:80 piwik
$ docker ps

CONTAINER ID IMAGE      COMMAND                CREATED           STATUS          PORTS                   NAMES

2a725b8becb2 piwik      "/entrypoint.sh ap..." 20 minutes ago    Up 20 minutes   0.0.0.0:80->80/tcp      infallible_brown

f2f956aeb024 mysql      "docker-entrypoint..." 22 minutes ago    Up 22 minutes   0.0.0.0:3306->3306/tcp  mysql
Now our both containers are up and running. Now you can go to IP address of the host and then you can access the web UI to continue the installation.
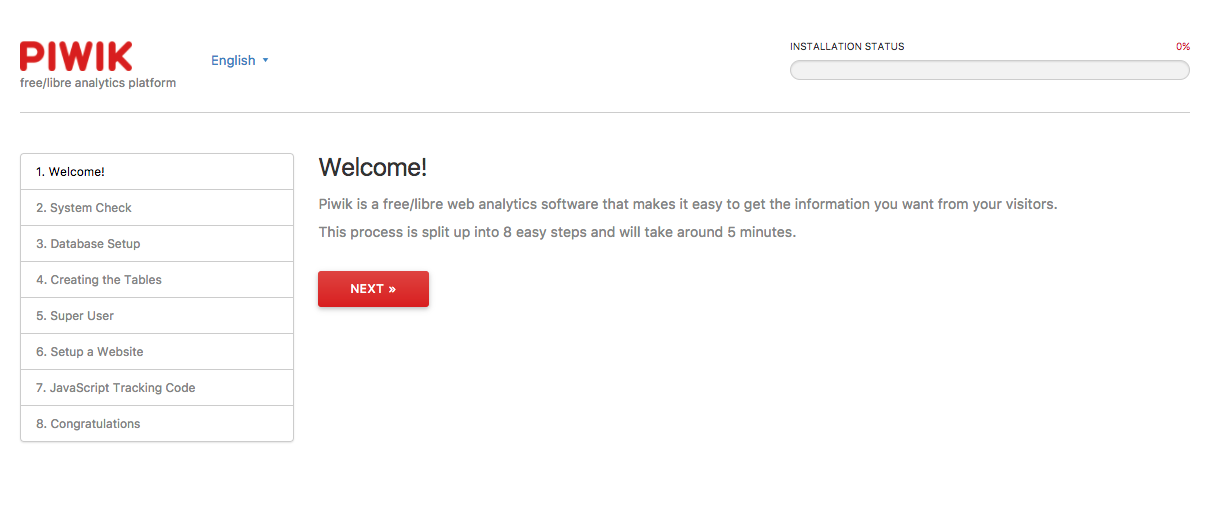
Step 1. Welcome page
Step 2. System Check
We just need to click next because all the dependencies were already installed in docker image.
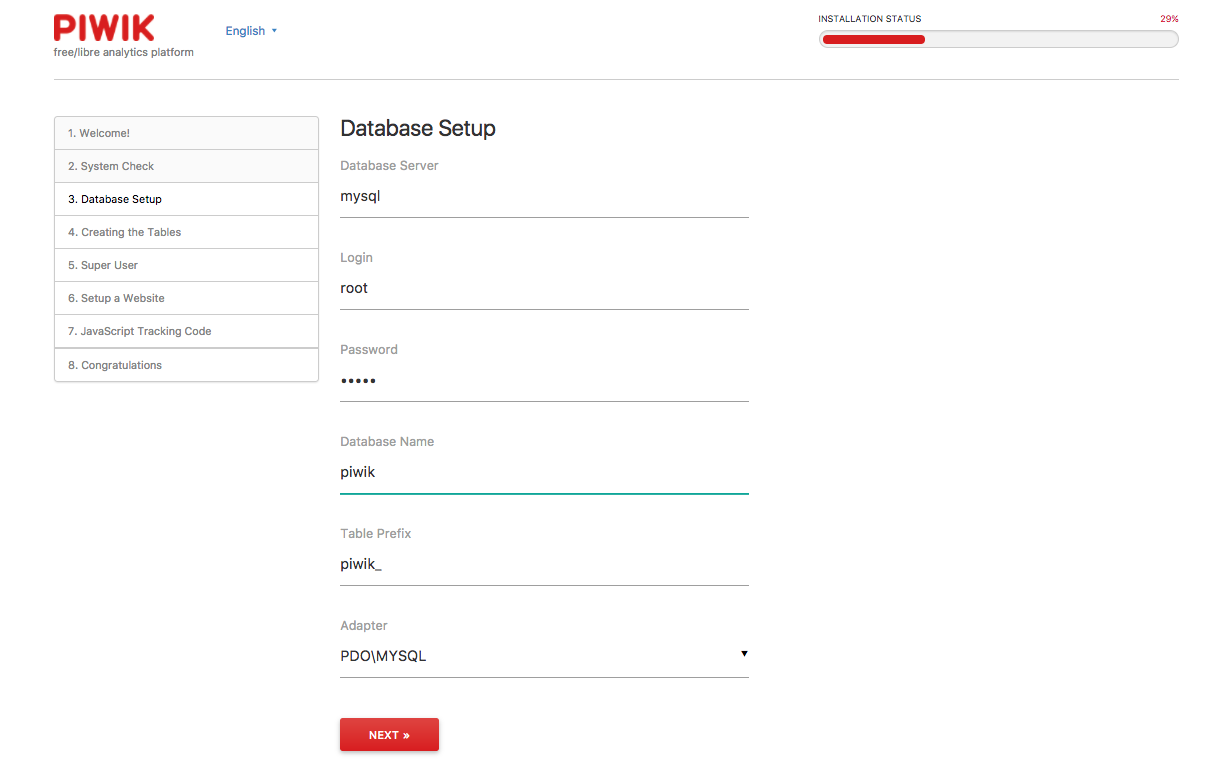
Step 3. Database Setup
In this step, you need to provide database credentials in order to create the database for piwik.
- Change the Database Server from 127.0.0.1 to mysql as shown below
- Give root user in Login
- Enter password that you have choose while starting up the mysql container
- Enter piwik in Database Name and then Click Next
Step 4. Creating The Tables
Piwik will create database and tables.
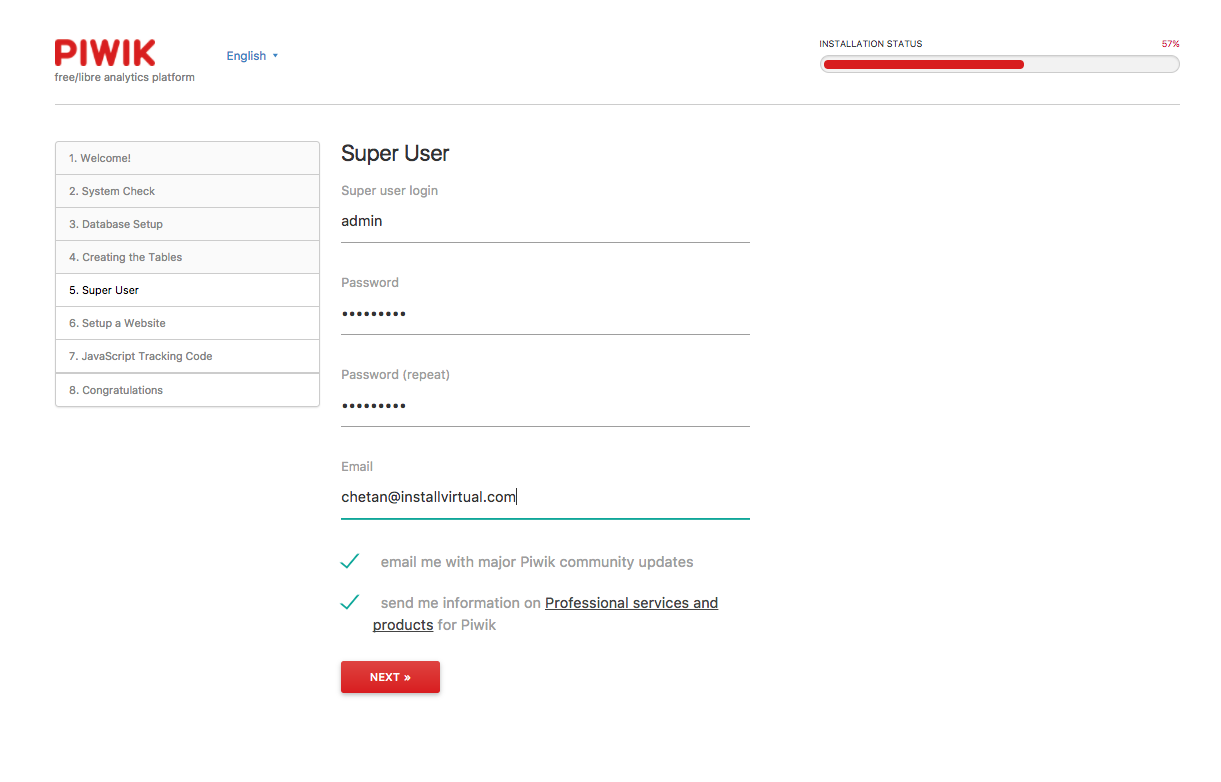
Step 5. Super User
Now you need to add a super user in Piwik.
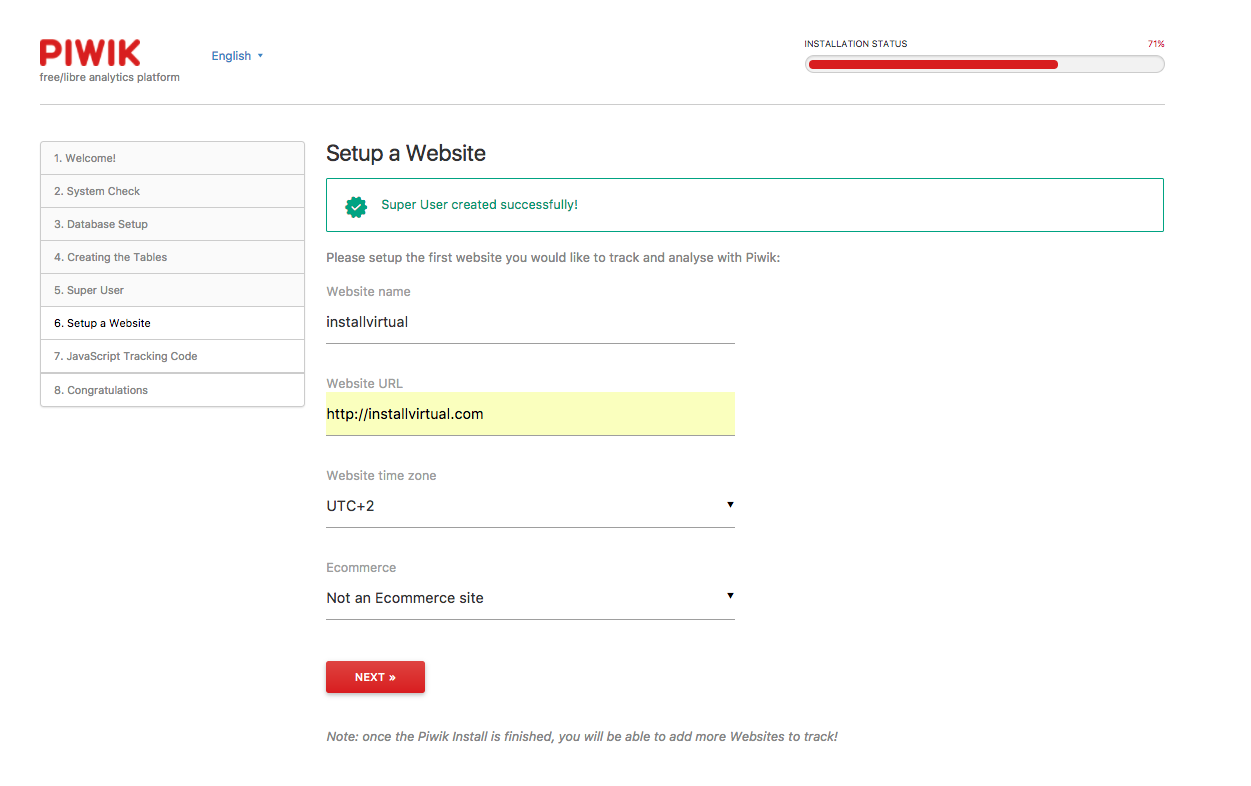
Step 6. Setup a Website
Provide the details of your website and Select city from the drop down menu or select time zone.
Step 7. Tracking Code
In this step, you will get the JavaScript tracking code for your website that you need to put in your website. For more information about tracking please use the following link.
https://developer.piwik.org/guides/tracking-javascript-guide
Read Also: How to install piwik on centos 7
If you got some issue installing piwik with docker please feel free to comment below. Any edit or feedbacks are welcomed.
Leave a Reply